Step-by-Step Flower Drawing Tutorial: A Beginner’s Guide to Creating Realistic Flowers
Why Drawing Flowers Can Be Challenging
Flowers are difficult to draw for many beginners because they have soft, flowing forms. Flowers have more natural curves than geometric shapes, which can make it difficult to draw. It’s easy to create unbalanced and unrealistic drawings without a method.

Common Struggles
You’ve probably tried to draw a rose, a daisy or something else and ended up with a sketch that didn’t look good. It can be frustrating for people to struggle with the fine details. drawing flower is easy and enjoyable if you use the right technique.
A Simple Solution
This guide will take you step-by-step through the process of drawing a flower. You’ll be able to draw realistic leaves, stems, and petals by breaking the process down into small sections. This guide is perfect for anyone who wants to learn how to draw beautiful sketches of flowers.

Materials You’ll Need
Gather these supplies before you start:
- Pencil HB, 2B or 4B– For shading and sketching.
- Eraser– A kneaded eraser is best for small corrections.
- Fine Liner or Ink Pen (Optional) – To outline.
- Sketchbook – A smooth surface is easier to draw on.
- Colored pencils and watercolor — If you wish to add color.

Step 1: Understanding the basic flower structure
Flowers are made up of a few essential parts:
- The middle part (Pistil and Stamens).
- Petals– The outer, soft parts of the flower that give it its shape.
- Sepals Small leaves-like parts below the petals.
- Leaves & Stems – They hold the flower in position.
You can learn more about flowers by looking at pictures or real flowers.
Step 2: Start with simple shapes
- Draw the outline of a flower in a circle.
- Mark center– Place a dot for the pistil in the middle.
- Draw petal guidelines– Lightly sketch oval shapes to plan the placement of petals.
Use light lines to make it easier to erase.
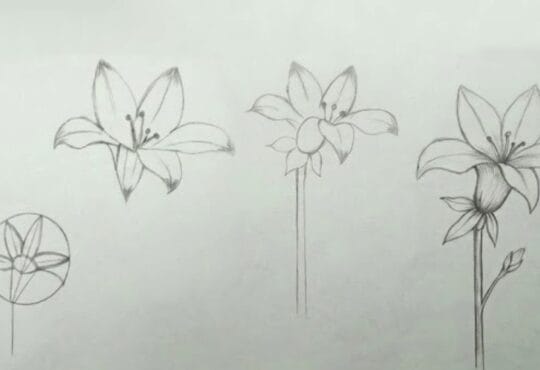
Step 3: Form the Petals
- Draw the petal shapes using the guidelines. Some petals may be folded over or overlapped.
- Add small lines for creases and bends.
- Avoid a stiff appearance by spacing the petals naturally.
Step 4: Draw Center Details
- Draw tiny dots or thin line inside the middle to show stamens.
- Use small, curved strokes in the middle of flowers such as daisies and sunflowers.
- The middle section can be given more depth by adding shading.
Step 5: Draw stem and leaves
- For the stem, extend a curved arc from the base.
- Draw simple leaf shapes on the stem. Some leaves have jagged edges.
- Draw veins in the leaves to add detail.
Tip : Do not draw perfectly straight lines. Natural shapes are more fluid.
Step 6: Add depth to your by adding shading
Shading makes your drawing look more realistic.
- Determine where the source of light isin order to determine where shadows will be.
- Use a pencil to darken the areas in shadow.
- To make shadows appear smooth, use hatching and
- To create a glowing look, remove small highlights from the edges of petals.
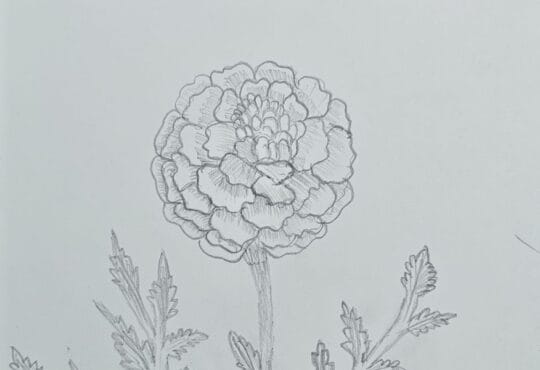
Step 7: Refine Petals
- Make the edges of petals softer and more organic.
- To create a realistic look, add tiny details such as small tears or subtle curves.
- Blend the shaded areas together to smooth them out.
Step 8: Improve the Background
- Draw additional leaves or flowers to give the impression of depth.
- Use shading techniques such as cross-hatching to create a subtle texture on the background.
- Background details should be kept light to avoid overpowering the main flower.
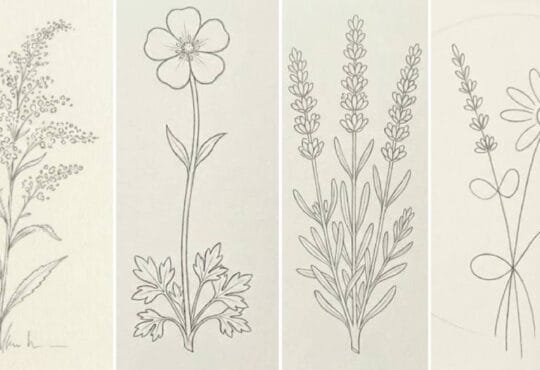
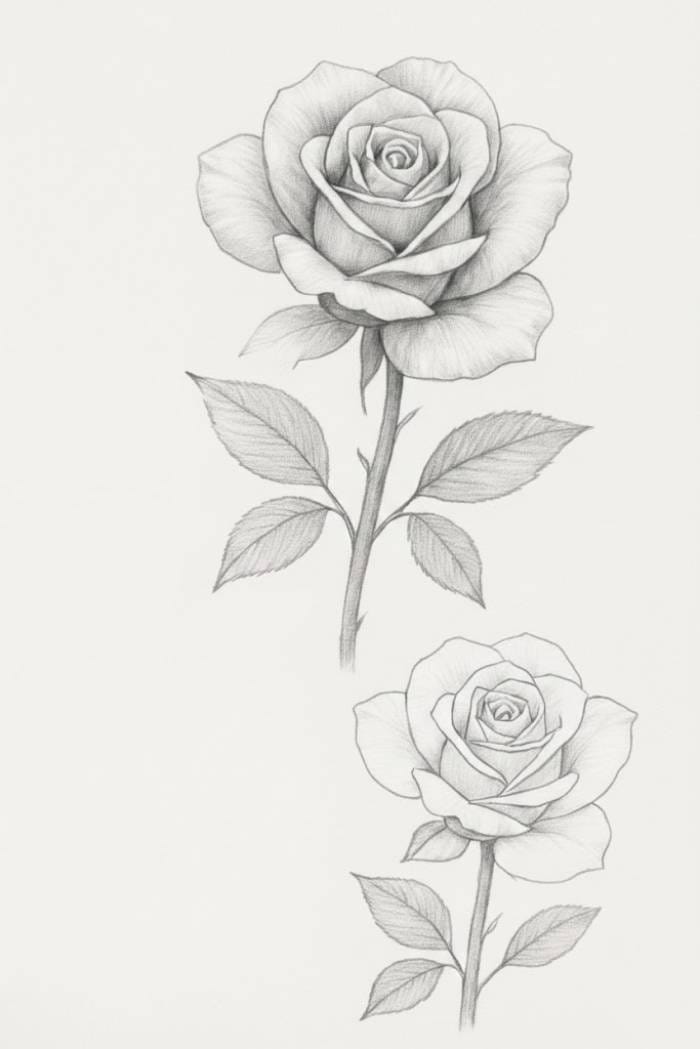
Step 9: Experiment With Different Flowers
- To practice different petal forms, try drawing tulips, roses or lilies.
- Compare the images of flowers to each other.
- Depending on the type of flower, adjust shading and petal styles.
Step 10: Final touches
- Take a step back and take a look at the drawing in its entirety.
- Balance the composition by making small adjustments.
- Sign your work, and be proud of the progress you’ve made!

Conclusion: Keep Practicing!
With practice, drawing flowers becomes easier. Follow these steps to create realistic floral sketches. Begin with simpler flowers, such as daisies. Then move onto more complex ones, like roses. Soon, drawing flowers will be effortless.
What’s Next?
- Draw different types of flowers using the reference images.
- Try experimenting with inks and watercolors to add some variety.
- Share your sketches to get feedback and inspiration.
Using this simple guide will help you to improve your artistic abilities and gain confidence. Enjoy sketching!
Looking for more Flower drawings inspiration? Check out these articles:
Lily Flower Easily in Simple Steps
Realistic Sunflower Drawing Ideas
25 Beautiful Flower Drawing Ideas
Realistic Aster Flower Drawing Ideas
Realistic Lily Flower Drawing Ideas
Simple peony flower drawing ideas