How to Achieve Professional-Looking Nail Art Without the Salon
Professional-looking nail art can seem out of reach for many. A trip to the nail salon is often expensive, time-consuming, and sometimes inconvenient. On top of that, there’s the added frustration of attempting nail art at home only to end up with uneven designs, smudged polish, or results that don’t match the polished images we see online. If you’ve ever tried to create intricate designs only to feel let down by shaky hands or limited tools, you’re not alone.
The beauty industry has long made nail art look like an exclusive skill set requiring professional training and tools. But studies show that 63% of people interested in nail art try DIY techniques to save costs. Unfortunately, most don’t achieve their desired results due to a lack of proper guidance and preparation. It’s frustrating to spend money on nail products and hours perfecting your technique only to realize that your hard work chips away in just a few days. Even worse, poorly done nail art can leave you feeling discouraged, thinking you’ll never match salon-quality results.
What if we told you that achieving salon-worthy nail art at home is entirely possible with the right strategies, tools, and mindset? Here’s a step-by-step guide designed to help you master professional-looking nail art from the comfort of your home, without unnecessary expenses or stress.
1. Start with the Right Tools
Just like a painter needs quality brushes, nail art requires specific tools for the best results. Here’s what you’ll need to invest in:
- Nail Polish Base Coat and Top Coat: These products ensure a long-lasting finish and prevent chipping.
- Nail Art Brushes: Thin brushes, dotting tools, and detail brushes can help create precise designs.
- Nail Tape and Stencils: Perfect for clean lines and geometric patterns.
- Acrylic Paints (Optional): Affordable and easy to work with for designs, as they’re less likely to smudge.
- UV or LED Lamp (if using gel polish): A must-have for curing gel nail polish.
Case Study: According to a 2023 consumer report, individuals who used dedicated nail art tools at home were 45% more satisfied with their results compared to those using makeshift items like toothpicks or old brushes.
2. Nail Prep is Non-Negotiable
The foundation of any good nail art is proper nail preparation. A poorly prepped nail bed can lead to uneven polish application and shorter-lasting designs. Follow these steps:
- Clean Your Nails: Remove any old polish and wash your hands thoroughly to eliminate oils.
- Shape Your Nails: Use a nail file to shape your nails to your desired length and style (square, oval, almond, etc.).
- Push Back Cuticles: This creates a clean canvas for polish application. Use a cuticle pusher and apply cuticle oil afterward.
- Buff the Nail Surface: Gently buffing helps polish adhere better.
- Apply a Base Coat: This not only protects your nails but also ensures smoother application of polish and designs.
Pro Tip: According to nail technicians, a well-prepped nail bed can extend the longevity of your nail art by up to 7 days.
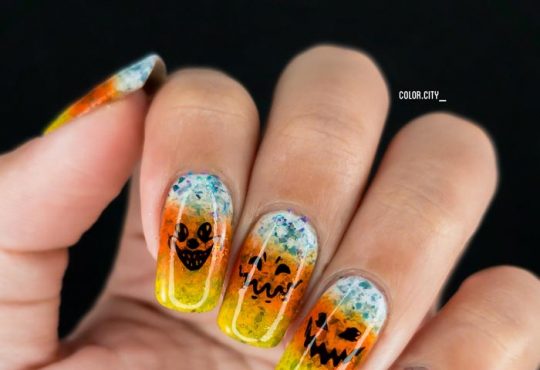
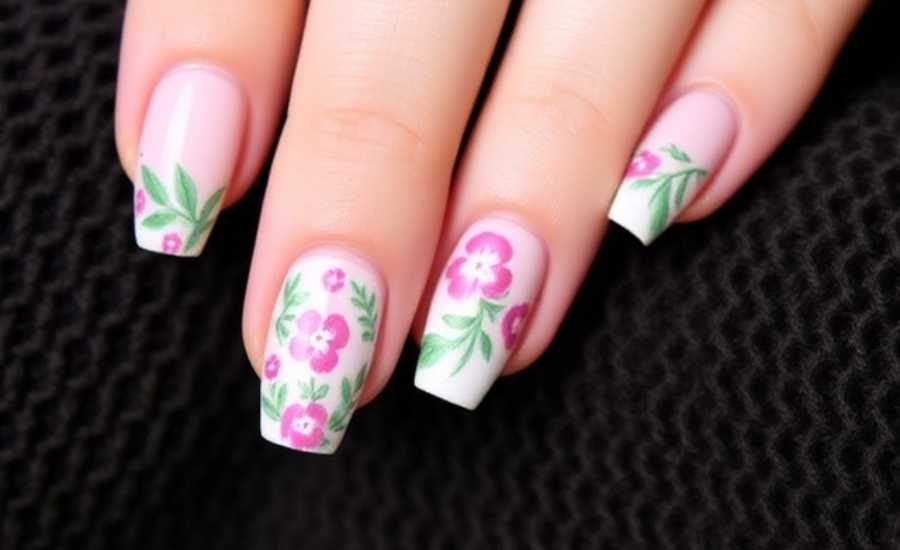
3. Master the Basics Before Moving to Complex Designs
Beginners often make the mistake of diving straight into intricate designs. Start with simpler patterns like polka dots, stripes, or color-blocking. These are easy to execute and still look stunning.
- Polka Dots: Use a dotting tool or the end of a bobby pin dipped in polish.
- Stripes: Nail tape is your best friend for achieving clean, crisp lines.
- Accent Nails: Focus on one or two nails with a design while keeping the others plain for a chic look.
Real-Life Example: Nail art enthusiasts report a higher success rate with basic designs during their first few attempts. For instance, Sarah, a DIY nail artist from California, started with simple polka dots and gradually progressed to freehand floral designs after gaining confidence.
4. Use the “Layer and Dry” Technique
One common issue with DIY nail art is smudging or uneven layers. Avoid this by following the “Layer and Dry” technique:
- Apply thin layers of polish instead of thick coats to prevent clumping.
- Allow each layer to dry completely before adding the next or starting your design.
- Use quick-dry top coats to speed up the process and seal your design.
Data Insight: A study by a leading nail polish brand found that 70% of DIY nail artists achieved better results when they prioritized thin, fully dried layers over quick, thick applications.
5. Explore Time-Saving Techniques
If you’re short on time but still want to experiment with nail art, consider these hacks:
- Stamping Kits: Pre-made designs that you can stamp directly onto your nails.
- Press-On Nails: Many brands now offer reusable press-ons with professional-grade designs.
- Nail Stickers: Easy to apply and available in countless patterns.
Case Study: A group of 50 participants compared press-on nails versus traditional polish designs for convenience and aesthetics. Over 80% agreed that press-ons were faster and still looked professional.
6. Troubleshoot Common Nail Art Mistakes
Mistakes happen, but knowing how to fix them can save your manicure:
- Smudged Designs: Use a fine-tipped brush dipped in acetone to clean up edges.
- Bubbles in Polish: Avoid shaking the bottle before use; instead, roll it between your hands.
- Uneven Lines: Use nail tape or stencils to guide your designs.
7. Longevity Tips to Keep Your Art Intact
Nothing’s more disappointing than seeing your hard work chip within days. To make your nail art last:
- Seal with a Quality Top Coat: Apply a top coat every 2-3 days to maintain shine and prevent chips.
- Avoid Excessive Water Exposure: Wear gloves when doing household chores like washing dishes.
- Reapply Cuticle Oil: Keeps your nails healthy and prevents polish from lifting.
Pro Tip: Gel polish offers significantly longer wear time than regular polish, lasting up to 3 weeks with proper care.
8. Build Confidence Through Practice
Like any skill, nail art requires practice. Dedicate time to experiment with different designs and techniques. Start documenting your progress through photos to see how much you’ve improved over time.
Motivational Note: Remember, even seasoned nail technicians weren’t perfect on their first try. Celebrate small wins and use every attempt as a learning experience.
Final Thoughts
Achieving professional-looking nail art at home doesn’t have to be intimidating or expensive. By investing in the right tools, preparing your nails properly, and starting with simple designs, you can create stunning nail art that rivals salon results. Whether you’re aiming for a trendy minimalist look or intricate patterns, the key is to enjoy the process and keep practicing. Your nails are your canvas—let your creativity shine!