Step-by-Step Angel Sketch Drawing Tutorial: The Perfect Beginner’s Guide
Drawing an angel may appear difficult initially However, with the right techniques, anyone can do it. With this Angel sketch drawing guide, discover how to draw a beautiful angel starting with basic shapes, and then precise shading. This guide for beginners includes everything, from understanding angel anatomy to drawing wings, to enhancing particulars, and adding realistic accents. In the end you’ll have the confidence of drawing your personal beautiful angel sketch, and will improve your overall drawing abilities. Begin this journey to bring your dream artwork to life.

Materials You’ll Need
Before beginning your sketch, make sure you get the right supplies. The right tools will simplify your drawing as well as more fun. This is what you need:
- Pencils: An assortment of crayons from HB up to 6B is the ideal. The HB pencil is ideal for drawing lighter outlines, whereas soft pencils like 2B or 6B aid in shading.
- Eraser: Soft eraser lets you correct errors while not causing damage to the surface. Erasers that are kneaded work well to make subtle adjustments.
- Sharpener: Keeping your pencils sharp ensures precise lines.
- Draw Paper or Sketchbook: Smooth, medium-weight paper is ideal to sketch and shade.
- Blending Tissue or Blending Stump: Useful for smoothing out shadows and creating soft gradients.
- Optional: Colored pencils or ink, if you want to finish your work.
With all the supplies you need you’re ready to begin your sketching adventure.
Understanding Angel Anatomy and Features
Although angels are fictitious knowing the human anatomy is crucial to make your sketch appear authentic.
Angels are usually depicted as human beings with wings. Pay attention to the following areas:
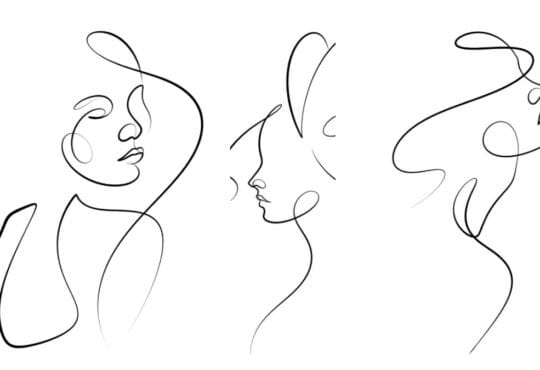
- The Head and the Face: Soft expressions communicate peace and divineness.
- Body Proportions: Be sure to maintain a balance arm, torso and legs. Don’t overexaggerate proportions.
- Wings: Wings of angels are typically large and thick. Every wing must flow starting from behind.
- Clothing and Robes: Flowing garments add the look of grace and motion on your sketches.
Looking up references to human figures or wings may help draw the beauty of angels in your drawings.

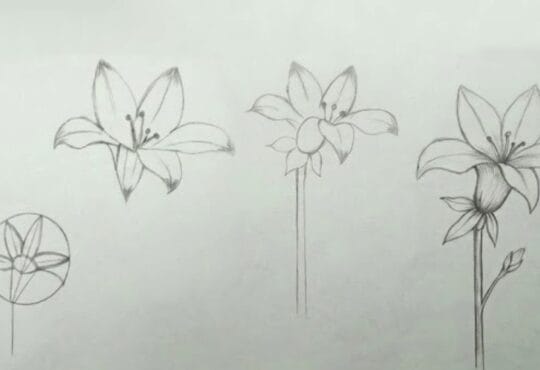
Step 1: Begin with the Basic Shapes
The first step of any sketch is drawing basic designs. This allows you to modify proportions before adding any details.
- Draw an oval to represent the head.
- Make a vertical line in the center to show the symmetry.
- Create a trapezoid, rectangle, or a rectangle to represent the torso.
- Make simple shapes for legs and arms Consider cylinders or ovals that are elongated.
- To make wings, start with curved lines of light that extend from shoulders.
Make sure that your lines aren’t too heavy so it is possible to erase them and refine them as you move. This fundamental step will ensure that your angles and posture are accurate.
Step 2: Draw the Angel’s Face
Then, concentrate on the face, the center in your drawing of angels.
- Split the head in three parts from forehead to eyebrows and nose to eyebrows and chin to nose.
- Draw gentle eyes, a tiny nose as well as soft lips. Do not use harsh lines for an elegant appearance.
- Simple guidelines to ensure the symmetry.
- Lightly show the volume and flow of hair.
- Angels are usually depicted using long, soft hair.
A calm and serene face is the basis for the sketch.
Step 3: Sketch the Body and Robes
It’s now time to draw the outline of the angel’s body and flowy clothes.
- Enhance the arm, torso and hands. Maintain the natural posture and comfortable.
- Draw the robe with flowing lines that are smooth and fluid. Layer layers and folds to create a sense of motion.
- Don’t forget, robes shouldn’t feel stiff, but they should flow like fabric when in motion.
- Optional: sketch lightly jewelry and sashes or other small details for decoration.
Correctly drawing the body and robes gives your sketch a sense of elegance and vitality.
Step 4: Draw the Wings
Wings are a characteristic attribute of angels. Pay attention to the layering and proportions
- Begin with the upper curve of the wing. It extends towards the back.
- Make long, overlaid feathers to create a natural appearance.
- Use smaller feathers along the edges, and larger feathers nearer to the body.
- Make light marks on feather lines first Then darken a few of them for more depth.
- Check that both wings are aligned or placed to give perspective.
The slight shading of the wings can add authenticity creating them to seem soft and fragile.
Step 5: Refine Details and Add Shading
After you’ve completed the outline you can enhance the sketch with depth and details:
- You can go over the outline to darken the areas you want to highlight.
- Make use of either your pencils or the blending stumps to create shadows on the robes, beneath wings, and on the face.
- Think about the source of light for making shadows and highlights constant.
- The subtle shading of eyes, nose and lips make the appear more realistic.
Shading transforms your sketch from a basic outline to a 3-D model.
Step 6: Final Touches and Enhancements
Once your sketch is almost complete Now that you have your sketch completed, concentrate on polishing the sketch:
- Remove any guidelines that are not needed.
- The final outline should be darkened if needed.
- Make sure to add texture to the wings and robes for more real-world appeal.
- Optional alternative: draw a soft shimmer or halo for the heavenly sensation.
- Play around with adding a easy background and celestial effect.
Final touches make your beautiful drawing stand out. It will appear more professional.
Common Mistakes Beginners Should Avoid
Even with a manual novices often make some mistakes. Pay attention to:
- Over-darkening sketch early sketches: Keep initial lines bright for adjustments.
- Do not pay attention to ratios Make use of simple patterns and guidelines in order to ensure equilibrium.
- Practice shading without a break: Shadows make your sketch more realistic.
- Speeding information: Take time with the expressions of your face, wings and costumes.
Being aware of these mistakes will ensure more efficient learning and improved results.
Practice Tips to Improve Your Angel Sketches
The practice is the key to mastering angel sketching. Here are some helpful tips:
- Learn to work on individual parts separatelyfaces, hands wings.
- Human anatomy study references and winged images.
- Try various poses, expressions and angles.
- Try different styles of drawing such as realistic, minimalist or even fantasy.
- Maintain a sketch diary to monitor progress and make improvements.
If you keep practicing Your angel drawings will get more precise and confident.
Conclusion
The art of drawing angels needn’t be difficult. Follow this advice Step-by-Step Angel Sketch Drawing Tutorial Beginners can draw beautiful detailed angel drawings for beginners. Begin with the basic designs, then refine the body, face and wings, then complete by adding shading and finishing touch-ups. Remember that patience and repetition are the key to success. Every sketch you create can help improve your abilities. Take your pencils and follow these steps and then bring your masterpiece to life. Show off your work and keep looking for new ways to draw The possibilities are limitless!