How to Create Stunning Neon Art: A Step-by-Step Guide
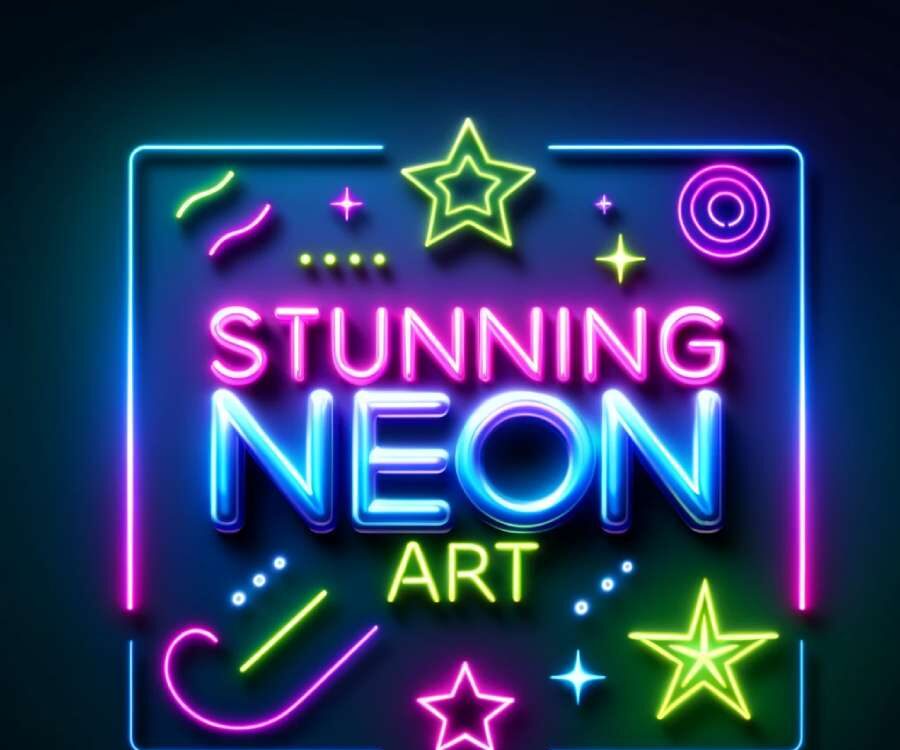
Neon art is captivating, versatile, and gaining massive popularity in the creative world. If you’ve ever marveled at the glowing brilliance of neon designs, you’re not alone. Many artists, from beginners to professionals, are exploring neon art to add a modern and dynamic edge to their portfolios.

Understanding Neon Art—Where to Begin?
Creating neon art might seem intimidating at first. You might wonder:
- What tools do I need?
- How do I make my designs glow?
- Can I create neon effects digitally or only with physical materials?
These are valid concerns. Neon art requires specific techniques to achieve its signature glow, and without a clear roadmap, it’s easy to feel stuck. Beginners often spend hours experimenting but miss critical steps that make the difference between average and professional-looking neon art.
Why Missing the Right Steps Could Lead to Frustration
Imagine spending hours on a piece only to realize it doesn’t radiate the vibrancy you envisioned. Maybe the colors look dull, the lines aren’t sharp, or the “glow” effect seems artificial. Many aspiring neon artists face these common issues:
- Incorrect Color Choices: Neon art thrives on bold, vibrant colors. Choosing muted tones defeats the purpose.
- Poor Lighting Understanding: Whether physical or digital, knowing how light interacts with surfaces is crucial.
- Ignoring Composition Basics: Without a balanced design, even the best glow effect can feel overwhelming or chaotic.
These frustrations can make you feel like giving up, but the good news is: the solution is simpler than you think.
A Step-by-Step Guide to Neon Art
Now, let’s dive into the actionable steps to create stunning neon art, whether you’re working digitally or with physical mediums.
Step 1: Define Your Concept
Every great neon artwork starts with a strong concept. Ask yourself:
- What message or feeling do I want to convey?
- Am I designing for a specific purpose, like a logo, a sign, or wall art?
For example, let’s look at the case of urban muralist Alex Dee, who wanted to create a neon-inspired piece for a trendy coffee shop. His concept was simple: “Energize Your Day.” This clear focus allowed him to choose vibrant colors and bold typography that resonated with the brand.
Step 2: Choose the Right Tools and Materials
Digital Neon Art:
If you’re working digitally, you’ll need:
- Graphic Design Software: Adobe Photoshop, Procreate, or Illustrator are popular choices.
- Brushes and Effects: Pre-designed neon brushes or glow filters save time and deliver realistic results.
- High-Resolution Canvas: Start with at least 300 DPI for crisp details.
Physical Neon Art:
For physical creations, gather:
- Neon Tubing or LED Flex: Available in various colors, LED flex tubing is safer and easier to use for beginners than traditional glass neon.
- Power Supply: Ensure compatibility with your chosen tubing.
- Mounting Materials: Clear acrylic panels or wood backing are great options.
Step 3: Sketch and Plan Your Design
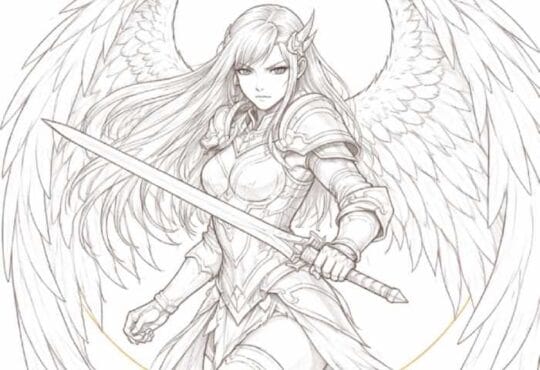
Before diving into production, create a detailed sketch of your design. This step helps visualize the final product and allows room for revisions. Use tracing paper or digital sketching tools to experiment with shapes and layouts.
Step 4: Master the Color Palette
Neon art relies heavily on a vibrant, high-contrast color palette. Follow these guidelines:
- Primary Colors First: Bright pinks, electric blues, and neon greens work as base tones.
- Complementary Colors: Pair opposites on the color wheel for added pop. For example, a neon blue paired with orange creates striking contrast.
- Test Glow Intensity: Adjust brightness and saturation for a realistic luminous effect.
Case Study Insight: Graphic designer Mia Lopez tested over 50 color combinations before finalizing the palette for a nightclub’s neon logo. Her research showed that a mix of magenta and cyan consistently stood out in dim lighting.
Step 5: Create the Glow Effect
For Digital Art:
- Outline Your Design: Use a pen or brush tool to sketch clean lines.
- Add Inner Glow: Apply a glow layer style to your lines. Tweak the opacity and spread to mimic real neon.
- Layering is Key: Duplicate the glow layer, adjusting each for size and brightness to create depth.
For Physical Art:
- Bend Tubing Carefully: Heat gently to shape LED flex or neon tubing without breaking.
- Diffusion Techniques: Use diffusers to soften harsh light, mimicking a natural glow.
- Placement Matters: Mount tubing slightly away from the backing for a subtle halo effect.
Step 6: Incorporate Realistic Lighting Effects
Lighting plays a critical role in neon art. For digital projects, use gradient overlays and soft brushes to replicate light spill on nearby surfaces. For physical art, test the piece in various lighting conditions to see how it interacts with its surroundings.
Step 7: Pay Attention to Composition
A well-balanced composition ensures your neon art stands out. Use the rule of thirds, symmetry, or leading lines to guide the viewer’s eye. If your design includes text, ensure legibility by spacing letters evenly and choosing bold fonts.
Example: A retail window display used neon art spelling “SALE”. By centering the design and adding arrows leading toward the entrance, it boosted foot traffic by 20% during the campaign.
Step 8: Add Details for Realism
Details can elevate your neon art from good to great. Incorporate subtle imperfections like uneven glows, slight flickers, or varied line thickness to mimic the quirks of real neon lights. These touches create authenticity and visual interest.
Step 9: Refine and Test
Once your artwork is complete, take time to review and test it in context:
- Digital Art: Preview it on different devices to ensure consistent quality.
- Physical Art: Test the glow in both bright and dim settings to adjust brightness if needed.
Step 10: Share and Get Feedback
Your work doesn’t end with creation. Sharing your neon art with a community of artists or potential clients can provide valuable insights. Platforms like Behance, Instagram, and Pinterest are great for showcasing your work.
Case Study Insight: Street artist Jordan used Instagram polls to refine his neon mural concept. Feedback from over 500 followers helped him finalize details, resulting in a highly praised piece that attracted local media attention.
Wrapping It Up
Creating stunning neon art doesn’t have to be overwhelming. By following these steps, you can bring your glowing visions to life, whether you’re designing digitally or physically. Remember, neon art is as much about experimentation as it is about technique. So, embrace the process, learn from each piece, and let your creativity shine brightly—literally!


