Easy Marigold Flower Sketch Ideas for Creative Beginners
Bold, bright, and surprisingly easy to recreate, it is a top choice for those who want to capture the beauty of nature’s intricate textures without the stress. If you’re picking up a pencil for the very first time or want a way to add a touch of gold to your sketchbook and mastering the art of drawing a marigold flower drawing is a satisfying method of building your confidence.
In this guide we’ll break down the process into manageable steps, beginning with simple circular shapes to the distinctive frilly petals. We’ll look at different methods for shade line work, shading, and composition to assist you in creating an impressive floral work. Are you ready to bring this stunning flower to life? Let’s explore these simple sketching ideas that are specifically designed for the creative beginner.
Why Choose Marigolds for Drawing?
For those who are new to the field, the vast world of botanical art may at times be overwhelming. But marigolds stand out due to their “forgiveness.” Unlike a lily and a tulip, which require precision and smooth lines, the marigold is a lover of texture and imperfections. The ruffled, dense petals let you try repeating patterns and layering without the need for a flawless hand. In addition, their form—a central pom-pom of petals surrounded by sharp, interesting leaves—provides an excellent lesson in design and contrast.
Essential Tools for Your Marigold Sketch
Before we start putting pencil on paper, we need to gather the necessary tools. There is no need for an expensive studio, but only a few essentials will suffice:
- Graphic PencilsThe pencils come with an HB for drawing the initial outline and an additional 2B or 4B for drawing the deep shadowed crevices in between the petals.
- The Sketchbook and Smooth Paper:A surface with a tooth can draw the graphite to provide better shading.
- Kneaded Eraser:Perfect to lift highlights from the edges that are ruffled.
- Blending Stump (Optional):To smooth the transitions of the shadows.
Step-by-Step Guide to a Basic Marigold Sketch
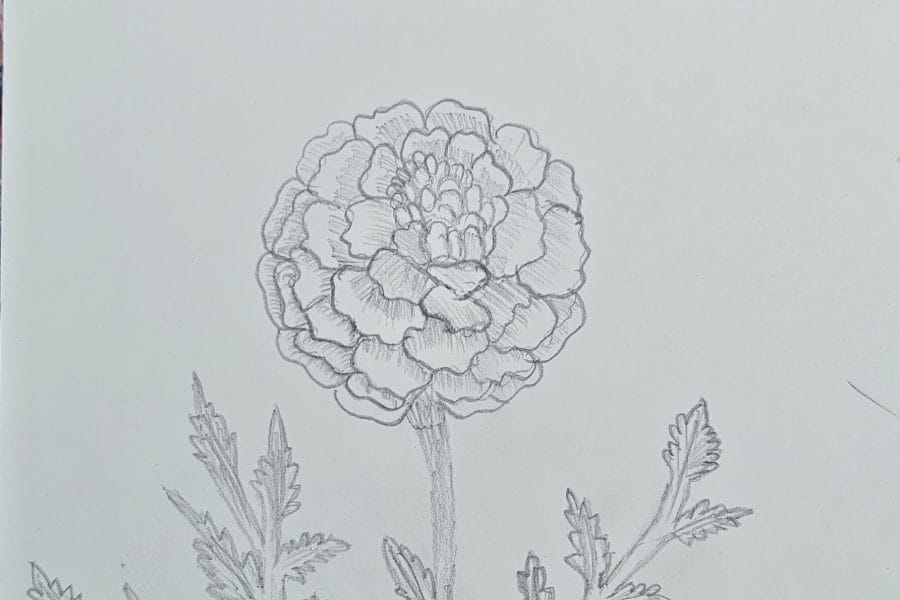
1. The Foundation: Circles and Stems
Begin by drawing a light loose circle. It’s not your final design however, it’s an idea of a “container” for the petals. Marigolds tend to be spherical, which means that they help to keep the proportions of your flower within a certain range. Add a slight curve towards the bottom of the stem of your flower to give your flower a sense of movement.
2. The Core Petals
In the middle of your circle, draw small, tightly snared “U” and “W” shapes. These are the newest flowers, which haven’t fully opened yet. They should look like a cluster of small, wavy lines packed closely together.
3. Layering the Ruffles
As you move outward from the center, you can make your lines of wavy lines longer. The secret to creating a realistic marigold flower drawing can be found in the “ruffle.” As opposed to smooth lines, make use of rough, irregular lines. Imagine that you’re drawing the edges of a crumpled piece of paper or a carnation. Layer these layers in such a way that the petal’s bottom is hidden behind the one that is above it.
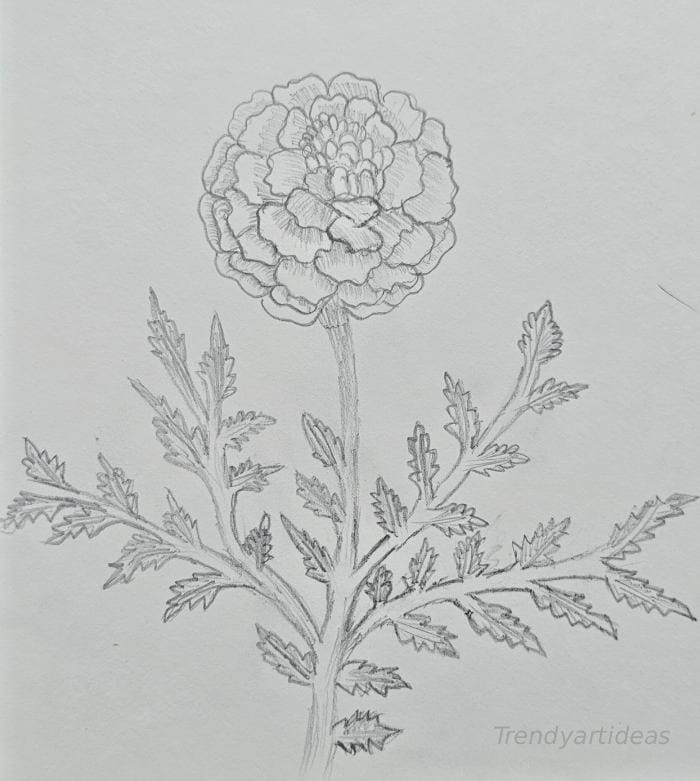
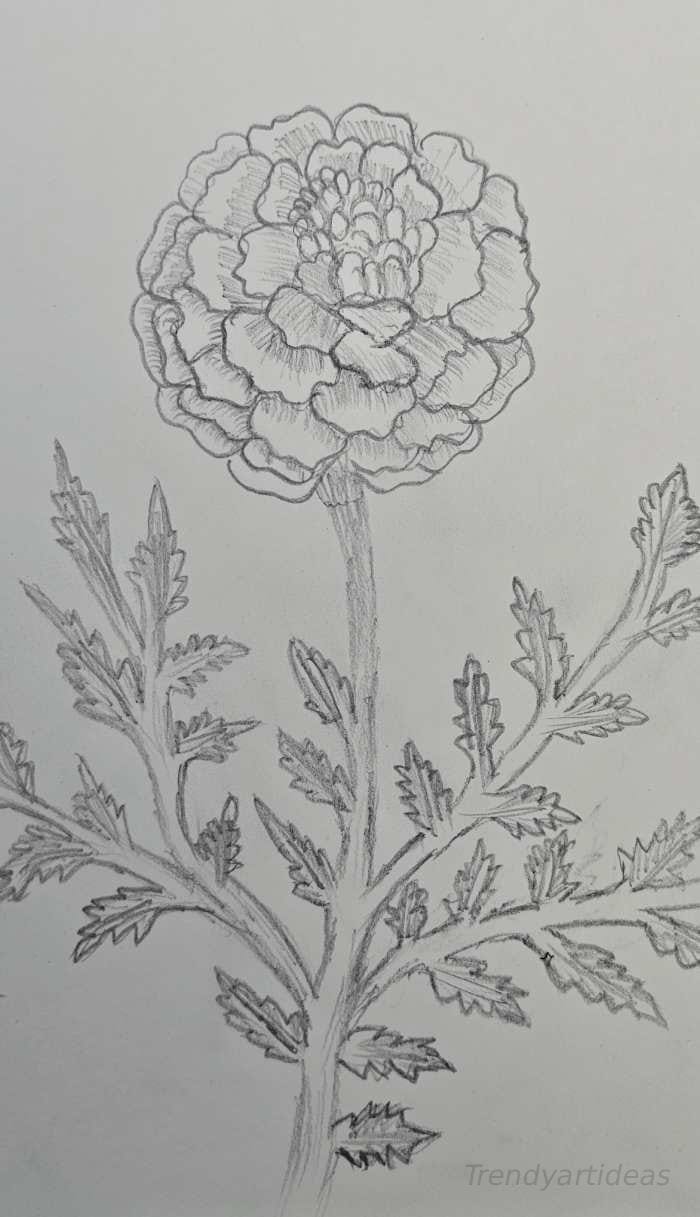
4. Adding the Foliage
Marigold leaves stand out because they have a distinct appearance. They are “pinnate,” meaning they have tiny, tooth-like leaflets along the central rib. For drawing them, draw the central line and then create small jagged triangles that point towards the outside. This adds a wonderful architectural contrast to the soft, round bloom.
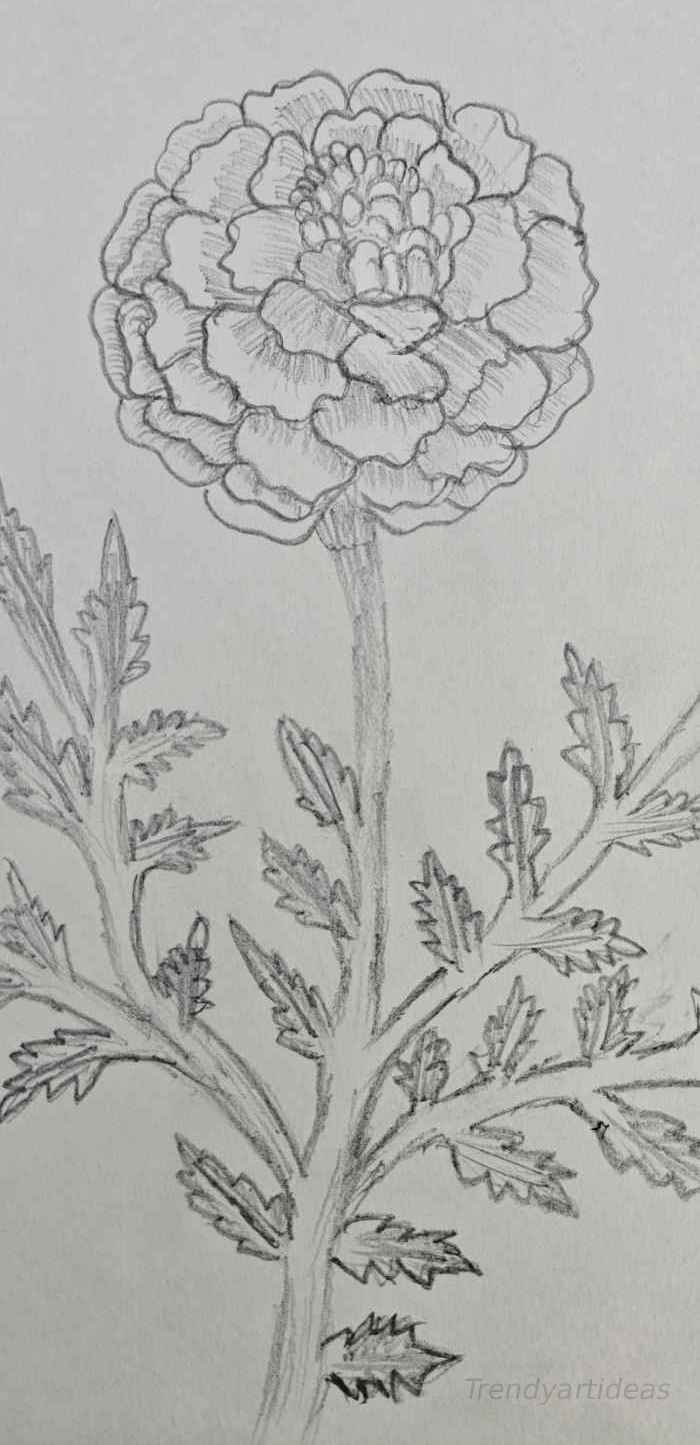
Shading Techniques for Depth
If it is not shaded, the marigold could appear as an unflattened ball of tiny squiggles. To make it pop off the page:
- Find the source of light:Decide if the light source is to the left or on top.
- Reesses that are deeper:Make use of your pencil with a darker shade for shading the area where the petals meet. The more shadow you can create in the middle, the more the petals seem to “push” forward.
- Highlight the edges:Leave the very edges of the edges that are ruffled white or extremely light. This is similar to the way light is reflected off light on the soft “rim” of the flower.
Creative Variations to Try
Once you’ve learned the fundamental head-on view, you can try these innovative ways to broaden your options:
The Side-Profile View
Instead of a circle, make an oval, or instead, draw a “cup” shape. This shows the base of the green (the sepal) that holds the petals. This perspective is great for showing the height of the flower.
A Cluster of Blooms
Marigolds rarely grow alone. You can draw three flowers at once: one larger, another medium, and tiny tightly packed buds that aren’t fully opened yet. Variation in the size creates an organic, natural experience.
If you like a contemporary style, avoid the shading completely. Make sure you focus on crisp, clear ink lines. Utilize different line weights—thick on the outside silhouette and very thin for the inside details of the petals.
Tips for Success as a Beginner
- Don’t rush the Center: The center defines the size of the flower. If you rush it, the flower might look lopsided.
- Look at References: Keep a photo of a genuine marigold close by. Note how the petals don’t move up and down, they spin and turn at different angles.
- Keep it Loose: Your hand should be at ease. The marigolds look “shaggy” flowers; if your lines are too stiff your drawing will appear more formal than natural.
Final Thoughts
A marigold flower sketch is much more than sketching; it’s an investigation in texture and perseverance. By dividing the flower into its most basic shapes—circles and ruffles, you can create something stunning even if you have limited knowledge.
Art is a journey of observation. When you next notice a marigold flower in the garden, be sure to take a look at the way light hits the lines in its flowers. Take that image to sketch in your notebook. Enjoy sketching!